The best aspect ratio for Instagram Reels in 2026 is 9:16 — but simply using a vertical canvas is not enough. Creators still get burned by the same problem every week: the file is technically the right shape, yet it looks wrong the moment Instagram overlays its UI. Text gets clipped. Faces get hidden behind buttons. Logos disappear under the caption bar. Aspect ratio is more than a technical setting — it decides whether your subject stays visible, your caption is readable, and your Reel looks native on Instagram rather than awkwardly cropped or padded.
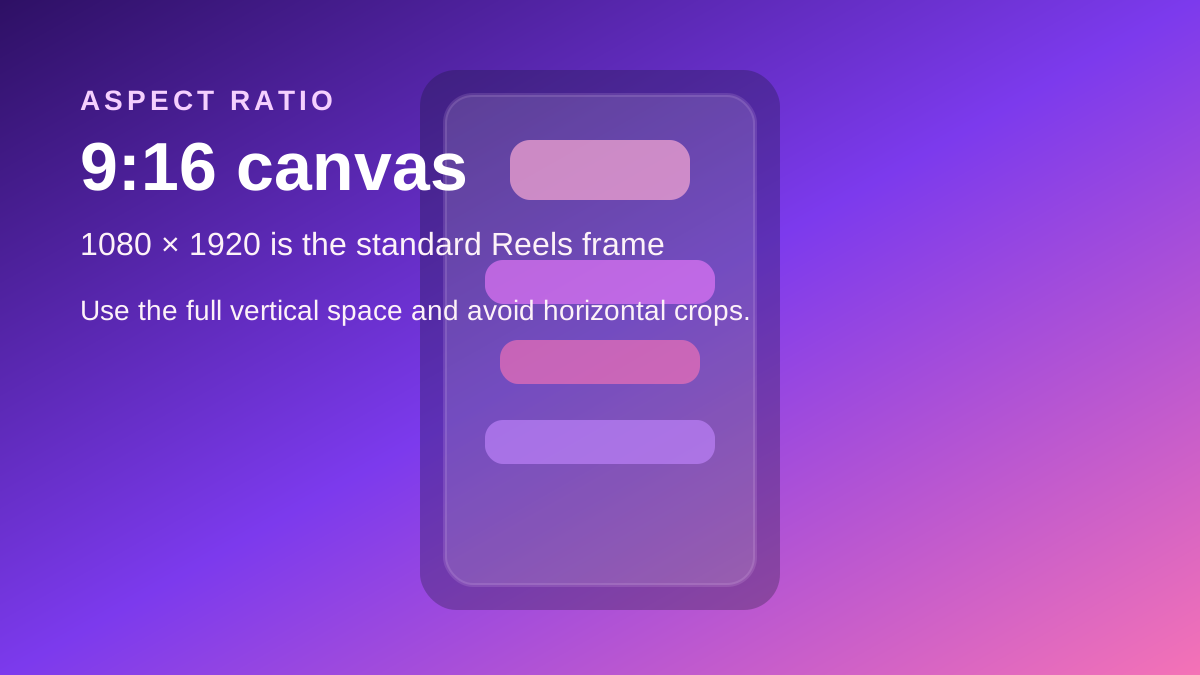
If you are editing Reels in 2026, the practical answer is still 9:16 at 1080 × 1920 pixels. That canvas fills a phone screen cleanly, matches how Instagram prefers to display short-form vertical video, and gives you enough room for text, subtitles, and your subject without squeezing everything into the center third of the frame. The rest of this guide explains how to work with that ratio instead of fighting it — including safe zones, export settings for CapCut, Premiere Pro, and DaVinci Resolve, and a pre-publish checklist.
What Is the Best Aspect Ratio for Instagram Reels and Why Does It Matter?
Aspect ratio is the relationship between a video's width and height. A 9:16 video is nine units wide and sixteen units tall — taller than it is wide. This vertical shape matters because Instagram's mobile interface is also vertical. The app wants your Reel to fill the entire phone screen, not sit inside a letterboxed box that wastes screen space with black bars on either side. When you use the correct 9:16 ratio, your Reel feels intentional, fills the frame, and is significantly easier to watch on the devices most Instagram users hold in their hands.
The aspect ratio also shapes every creative decision before you ever upload. A clip shot horizontally can be repurposed for Reels, but you must crop carefully or add background treatment to avoid black bars. A clip shot natively in 9:16 is easier to subtitle, easier to frame, and far less likely to lose important detail when Instagram rescales it during processing. If your goal is better reach, stronger retention, and a polished professional appearance, the aspect ratio is the starting point — not an afterthought.
Why 1080×1920 Is Still the Safest Instagram Reels Export Size in 2026
1080 × 1920 pixels is the standard vertical canvas for Instagram Reels because it maps neatly to typical phone screen dimensions and leaves sufficient resolution for subtitles, UI overlays, and the recompression Instagram applies to every upload. You can work at a higher source resolution during editing, but exporting at 1080 × 1920 keeps the upload file practical and prevents Instagram from performing unnecessary extra scaling that can soften the image.
Exporting at a smaller size causes details to soften quickly and subtitles to become illegible. Exporting at a much larger size rarely produces a cleaner result because Instagram recompresses the file during processing anyway — meaning you're sending more data without getting a noticeably better outcome for viewers. That is why 1080 × 1920 remains the recommended export target for creators who want predictable, consistent quality rather than chasing a theoretical maximum resolution.
Instagram Reels Safe Zones: How Much Overlay Space You Need to Leave
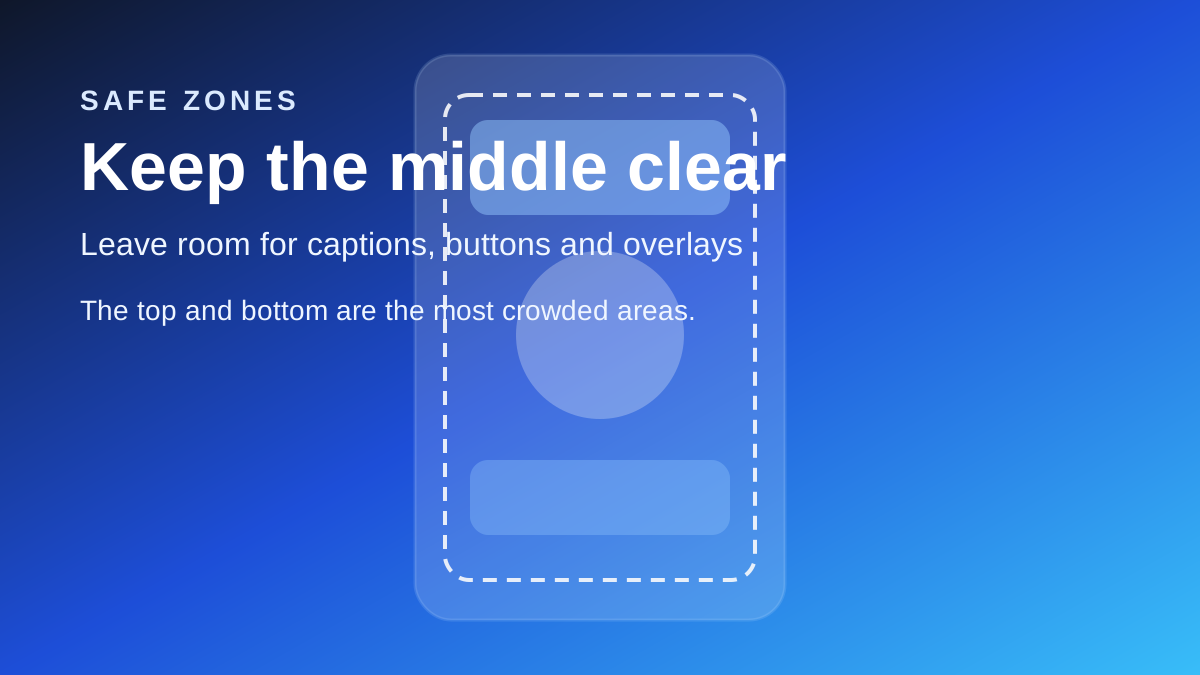
Safe zones are the regions of the frame where important content stays fully visible even after Instagram overlays its interface — including buttons, captions, usernames, audio info, and share controls. Instagram Reels do not present the same clean full-screen view in every context. The feed view, profile grid, and direct playback view all crop or cover different parts of the frame, so keeping the core action in the middle of the video is the safest consistent approach.
As a practical rule, leave generous margins at both the top and bottom of your composition. The bottom of the frame is the most crowded area — the caption, like button, share controls, and audio credit all compete for space in that region. The top can also be partially covered when your Reel appears inside other Instagram layouts like stories or shared posts. If your face, logo, product name, or subtitle text sits too close to the edges, it will frequently be obscured even if your export settings were technically correct.
Think of the safe zone as your storytelling frame within the frame. Place subtitles lower than center but well above the UI cluster at the bottom. Keep faces and key expressions in the mid-to-upper area of the frame. Avoid anchoring critical text or logos in the exact corners of the video. This small discipline has an outsized impact when the same Reel is watched in the feed, on a profile grid, via Explore, or after someone shares it out of context.
What Happens When You Upload the Wrong Aspect Ratio to Instagram Reels
When the aspect ratio is wrong, Instagram makes the decision for you — and it is rarely the decision you would make. Sometimes Instagram crops the frame aggressively, removing text, faces, or key motion from the edges. Other times it adds black bars or letterboxing, making the Reel look like a repurposed clip from a different platform. Either way, the result feels less polished than a Reel built for 9:16 from the start.
Wrong aspect ratios also damage performance indirectly. A poorly framed Reel creates a weaker first impression, which hurts viewer retention. When people skip a Reel because the subject is cut off or the composition looks awkward, Instagram registers that signal and deprioritizes the content in its distribution. This is why creators who care about reach invest time in framing decisions before they ever press publish.
Instagram Reels Export Settings for CapCut, Premiere Pro, and DaVinci Resolve
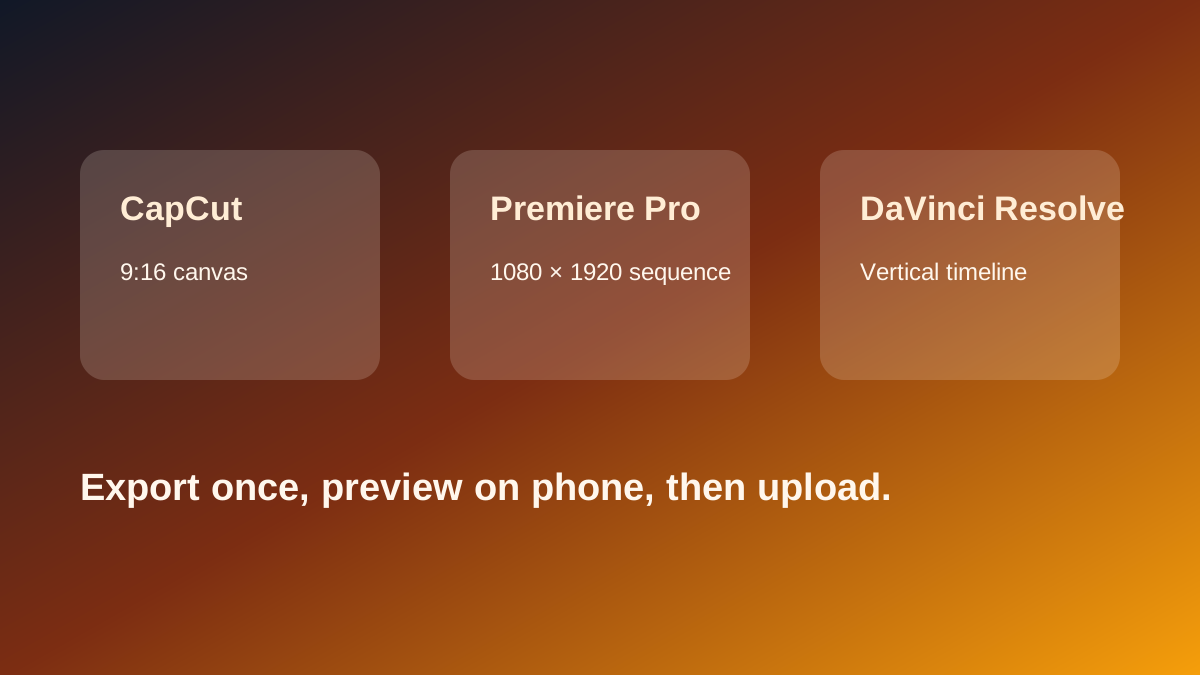
In CapCut, set the project canvas to 9:16 at 1080 × 1920 and export using a high-quality MP4 preset. If you use auto-captions, manually verify that the subtitle block does not sit too close to the bottom edge of the frame before you export. CapCut is fast and convenient, but it still rewards a deliberate final review before the file leaves the app.
In Premiere Pro, create a vertical sequence at 1080 × 1920, keep all graphics and text layers inside a clearly defined central safe zone, and export using H.264 with a moderate-to-high bitrate and a constant frame rate whenever possible. Premiere Pro gives you precise control over every aspect of the export — use that control to keep your title treatment and subtitles well away from Instagram's UI overlay areas rather than assuming the default export preset will handle it for you.
In DaVinci Resolve, create a vertical timeline at 1080 × 1920 and carefully review the Deliver page before rendering your final file. Resolve is exceptionally strong for color grading work, but the same frame safety rules apply — a clean vertical master with subtitles placed inside the safe zone will survive Instagram's recompression pipeline far better than a horizontally framed or improperly cropped edit.
A highly practical time-saving habit is to build one reusable vertical template in your preferred editor. Save a single project preset with the correct frame size, safe-zone margins for titles, caption placement guides, and your standard export settings. Every new Reel then starts from a layout that already respects Instagram's specifications rather than a blank timeline that invites the same framing mistakes over and over.
How to Shoot Instagram Reels Footage for the Final Vertical Crop
Whenever possible, shoot vertically from the start of your production. This sounds obvious, but a surprising number of creators still film horizontally and attempt to rescue the edit in post-production. Vertical capture gives you maximum room to position your subject within the frame, more space for text overlays, and far fewer difficult decisions when you begin editing. If you must repurpose horizontal footage, plan your crop around the focal point before writing a subtitle or placing a logo — because the crop decision controls everything downstream in the composition.
It also helps to think in distinct visual layers when framing a shot: background, subject, subtitles, and UI clearance. If your background is visually busy, subtitles need stronger contrast treatment — a shadow, a semi-transparent background block, or a color that stands out clearly. If your subject moves significantly within the frame, leave more breathing room near the edges so motion does not push elements into the cropped or overlaid zones. When layers are planned together from the shoot stage, the final Reel feels deliberate and professional even if it started as a rough phone clip.
Common Instagram Reels Framing Mistakes Creators Make
The most common framing mistakes are deceptively simple. Creators place subtitles too low and they disappear behind Instagram's action buttons. Logos sit directly over the like counter. Subjects are framed so tightly that movement has no room to breathe within the safe zone. Horizontal footage is another frequent trap: it can be repurposed for Reels, but only when you intentionally redesign the entire composition — simply zooming or stretching a horizontal clip until it fills a vertical frame creates cramped, unnatural-looking content that audiences scroll past immediately.
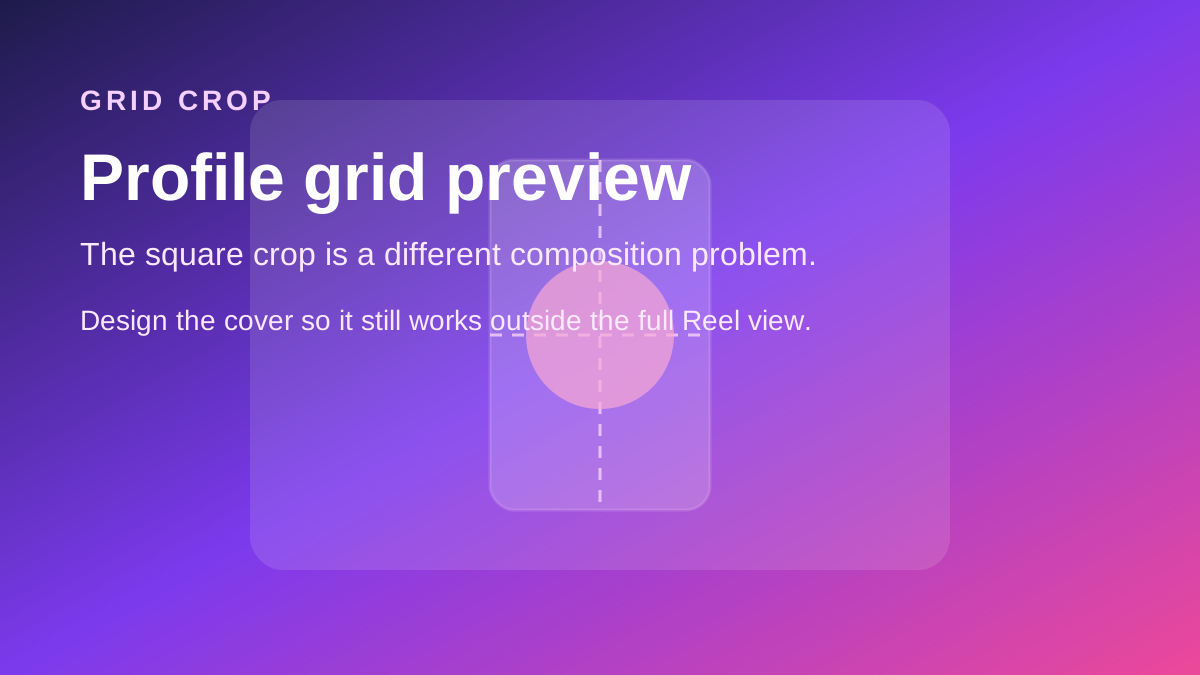
Another frequently overlooked mistake is assuming the feed playback view and the profile grid will present the same composition. They will not. A Reel cover frame should be designed with separate visual logic from the motion version of the video. The thumbnail, subtitle timing, and subject framing all need to function together as a cohesive visual system. If the cover image is compelling but the opening second of the Reel is cluttered or confusing, viewers will still drop off before they see the content you spent the most time creating.
Instagram Reels Pre-Publish Checklist (Quick Reference)
- Confirm the export timeline is set to 1080 × 1920 and not a stretched or repurposed horizontal preset.
- Verify that all faces, logos, subtitles, and key text are inside the central safe zone — away from top and bottom overlay areas.
- Preview the finished Reel on a physical phone rather than only on a large desktop or laptop monitor.
- Review the Reel cover frame separately from the motion edit — design it to work as a standalone image in the profile grid.
- Export a short 5-second test clip if you are trying a new template, caption style, or subtitle placement for the first time.
Before re-editing or reframing a clip, save a clean source copy with GrabReel's Reels Downloader. Starting from the original Reel file gives you the best possible base quality, which makes every crop and export decision easier and produces a sharper final result.
Instagram Reels Aspect Ratio: Summary and Key Takeaways
The best aspect ratio for Instagram Reels in 2026 is 9:16 at 1080 × 1920 pixels — not by accident, but because that canvas is specifically designed to fill a phone screen cleanly and match Instagram's preferred display format for short-form vertical video. The key to making that ratio work is understanding the safe zones, exporting at the correct size and bitrate, checking your composition on a physical phone, and designing the Reel cover frame as its own separate visual asset. Do those four things consistently and your Reels will look more intentional, perform better across every placement in the app, and hold up far better through Instagram's recompression pipeline.