Instagram is not a neutral file host — it recompresses almost every video that gets uploaded. That recompression can take a well-produced Reel and turn it into a soft, blocky, washed-out version of itself. The solution is not to avoid compression altogether. The solution is to compress smart before you upload, so Instagram has significantly less reason to aggressively crush the detail you worked to preserve.
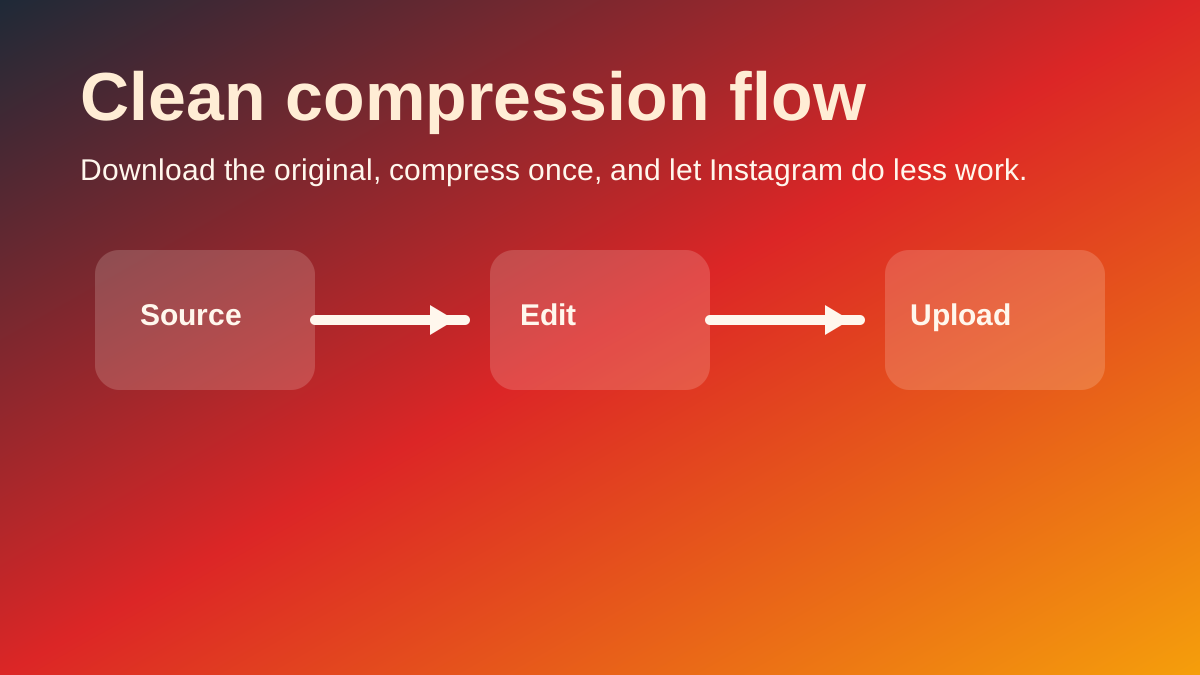
If you are reuploading a Reel, a clip saved from another project, or a version you edited on your phone, start by thinking about the source file quality. The cleaner and higher-quality your starting file, the more control you keep over the final uploaded result. This is why creators who care about video quality always download the original source first, trim carefully, and then compress using settings designed specifically for Instagram's pipeline rather than guessing and hoping the upload survives.
Why Instagram Recompresses Every Video You Upload
Every social media platform must balance video quality, file size, server bandwidth, and mobile playback performance. Instagram does this by re-encoding every video upload into its own delivery format so that files load quickly on phones with variable connection speeds and fit within the app's content delivery infrastructure. The downside is that each additional round of compression strips away more image detail. Fine textures, smooth color gradients, small subtitle text, and fast-motion sequences are typically the first visual elements to suffer noticeable degradation.
Critically, if your upload file is extremely large, Instagram often compresses harder to bring it down to a manageable delivery size. This means a massive unoptimized master file is not automatically better for social media uploads. What actually determines final video quality is whether your upload starts from a clean source, uses a reasonable resolution, has a sensible bitrate, and uses a codec that Instagram's processing pipeline handles efficiently. One intentional, well-configured compression pass is consistently better than letting Instagram's automated encoder make all those decisions for you.

Recommended Bitrate and Resolution Settings for Instagram Reels
For most Instagram Reels, 1080 × 1920 pixels remains the optimal resolution target. It maintains a correct vertical aspect ratio, preserves sufficient detail for captions and graphic overlays, and avoids pushing a larger canvas than Instagram needs to process and serve. For video bitrate, a practical range is approximately 6 to 12 Mbps for standard 30fps Reels content, with additional headroom if the video contains heavy motion, film grain, rapid cuts, or complex visual effects that are harder to compress cleanly.
For audio, keep it simple: AAC codec at 128 to 192 kbps is sufficient for voice-over content, background music, or mixed dialogue tracks. Talking-head Reels with minimal audio complexity do not need high audio bitrates. The overall goal is efficiency — a file small enough to upload reliably and quickly, but clean enough that Instagram's encoder does not need to fight a massive, overly complex source file with excessive bitrate that gets stripped away anyway during processing.
A Practical Video Bitrate Strategy by Instagram Reel Type
Not every Instagram Reel requires identical compression settings. Talking-head clips with a simple background and minimal camera movement can sit comfortably at the lower end of the bitrate range because the frame content is relatively uncomplicated for a video encoder to handle. Tutorial Reels with screen recordings, animated graphic overlays, or dense subtitle text benefit from slightly more bitrate headroom to keep text crisp and readable after upload. Fast-cut montage edits, footage containing water, smoke, confetti, or film grain create significant encoder stress because of complex motion and fine texture — these clips need more bitrate to prevent blocking and posterization artifacts.
The core principle is matching your export settings to the content complexity of the specific Reel, not using a single number you saw in a YouTube tutorial. Simple, static frames tolerate tighter compression. Fast-moving, texture-rich content needs more room. Getting this calibration right keeps your files practical in size while meaningfully reducing the chance that Instagram's encoder will flatten your image into muddy blocks.
How to Compress Instagram Videos with HandBrake (Step-by-Step)
- Open HandBrake and import the Instagram video file you want to compress for reuploading.
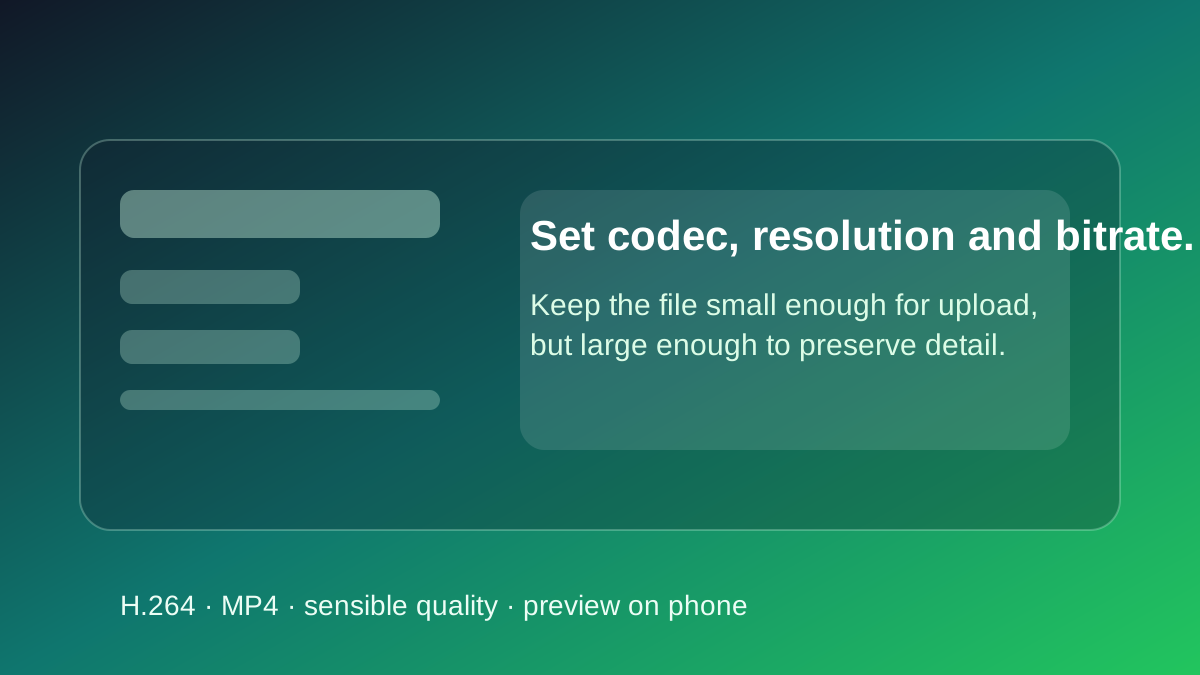
- Select an MP4 output container and choose an H.264 video codec preset — this is the most compatible format for Instagram uploads.
- Set the resolution to 1080 × 1920 pixels, or keep the existing vertical aspect ratio if your source is already correctly framed.
- Choose a constant or high-quality variable frame rate that matches your source clip's original frame rate — avoid forcing unusual frame rate conversions.
- Adjust the video quality level so the output file is reasonably compact but still clearly preserves fine detail in motion sequences and subtitle text.
- Export the compressed file, review it carefully on a physical phone screen, and only upload to Instagram once you have confirmed the quality is acceptable.
HandBrake is widely used for Instagram video compression because it is free, consistently reliable, and accessible enough for non-technical creators. You do not need to understand every advanced encoding switch to get excellent results. If your source file is clean and your settings are sensible, HandBrake will produce a high-quality upload-ready file with considerably less guesswork than most browser-based online video converters.
Other Tools for Compressing Instagram Videos
CapCut is the most convenient option when you are already editing on mobile or need a rapid compress-and-export workflow without switching to a desktop app. Adobe Premiere Pro gives you the tightest control over sequence settings, export bitrate, and codec configuration — ideal when precision matters most. DaVinci Resolve is the strongest choice when color accuracy is a priority and you want a professional-grade finishing pipeline before your Instagram upload. Online video converters can work in urgent situations, but they are generally the least predictable option — file handling quality varies significantly, and privacy considerations are weaker than a locally installed application you fully control.
How to Verify Your Compressed Instagram Video Is Still High Quality
Open the exported file on a physical phone and pause on a frame containing subtitle text, faces, or fine visual texture. If text appears muddy or pixelated, the bitrate is too low and needs to be increased. If smooth color gradients show visible banding or posterization, the file was compressed too aggressively. If motion appears jittery or stuttery, verify that the frame rate remained stable and consistent from source file to final export. The goal is not unachievable perfection — it is a file that survives Instagram's additional processing with enough preserved detail that viewers trust and engage with the content.
Repeating this review process across multiple Reels will reveal useful patterns specific to your content. Talking-head videos tolerate stronger compression without visible quality loss. Caption-heavy tutorials need more bitrate headroom to keep subtitle text sharp. Music videos and montage edits need careful attention to motion quality. Building that feedback loop lets you tune export presets by content type rather than relying on guesswork or generic settings.
Common Instagram Video Compression Mistakes That Destroy Quality
- Recompressing an already-compressed file multiple times — each generation pass compounds quality loss until the video becomes irreversibly soft and muddy.
- Using an outdated or incompatible video codec that forces Instagram's encoder to do extra transcoding work, amplifying quality loss.
- Exporting at an unusual or non-standard resolution that triggers an additional resize step before Instagram can serve the clip.
- Pushing bitrate too aggressively low so that fine detail, subtitle text, and motion sequences blur together into compression artifacts.
- Reviewing only the desktop preview and assuming it accurately represents how the Reel will look on a mobile phone screen.
When to Compress Less Rather Than More for Instagram Uploads
The instinct to shrink every video file as aggressively as possible is understandable, but frequently the wrong call. If your source file is already compact and clean, compressing it harder can introduce unnecessary softness in skin tones and make subtitle text illegible without any corresponding benefit in upload speed or processing. Short talking-head clips with plain backgrounds rarely need aggressive bitrate reduction — Instagram can handle the file size comfortably without punishing you for a slightly larger upload.
This consideration is especially important for instructional and educational content. Screen recordings, app walkthroughs, tutorial sequences, and caption-heavy Reels all depend fundamentally on visual clarity. Over-compressing that type of content destroys the exact detail the viewer is trying to read or follow. If a smaller file size is clearly blurring the text or interface elements your audience needs to understand, raise the bitrate rather than applying a second round of compression hoping the problem resolves itself.
Before compressing any Reel for reuploading, save the original source with GrabReel's Reels Downloader so you are always working from the highest available quality file rather than a version that has already been degraded by a previous compression pass or screen recording.
Conclusion: The Right Instagram Video Compression Workflow
The best Instagram video compression workflow is not about making files as small as physically possible. It is about making one careful, informed export that survives Instagram's own recompression pipeline with the minimum possible quality loss. Start from the cleanest source file available, use an appropriate resolution for your content, choose a codec that Instagram processes efficiently, and always validate the final result on a physical phone before publishing. That disciplined approach is how you consistently preserve detail, save upload time, and avoid the washed-out, blocky appearance that comes from compressing without a strategy.